In this manual we give starting users a guide how to start with Hai Ho.
After login you will be redirected to the start screen. This screen will look different for users based on their rights and the license a company has.
Settings
Before you start entering data, it's necessary to enter some settings correctly. Most of the choices can be changed afterwards but some are one time settings.
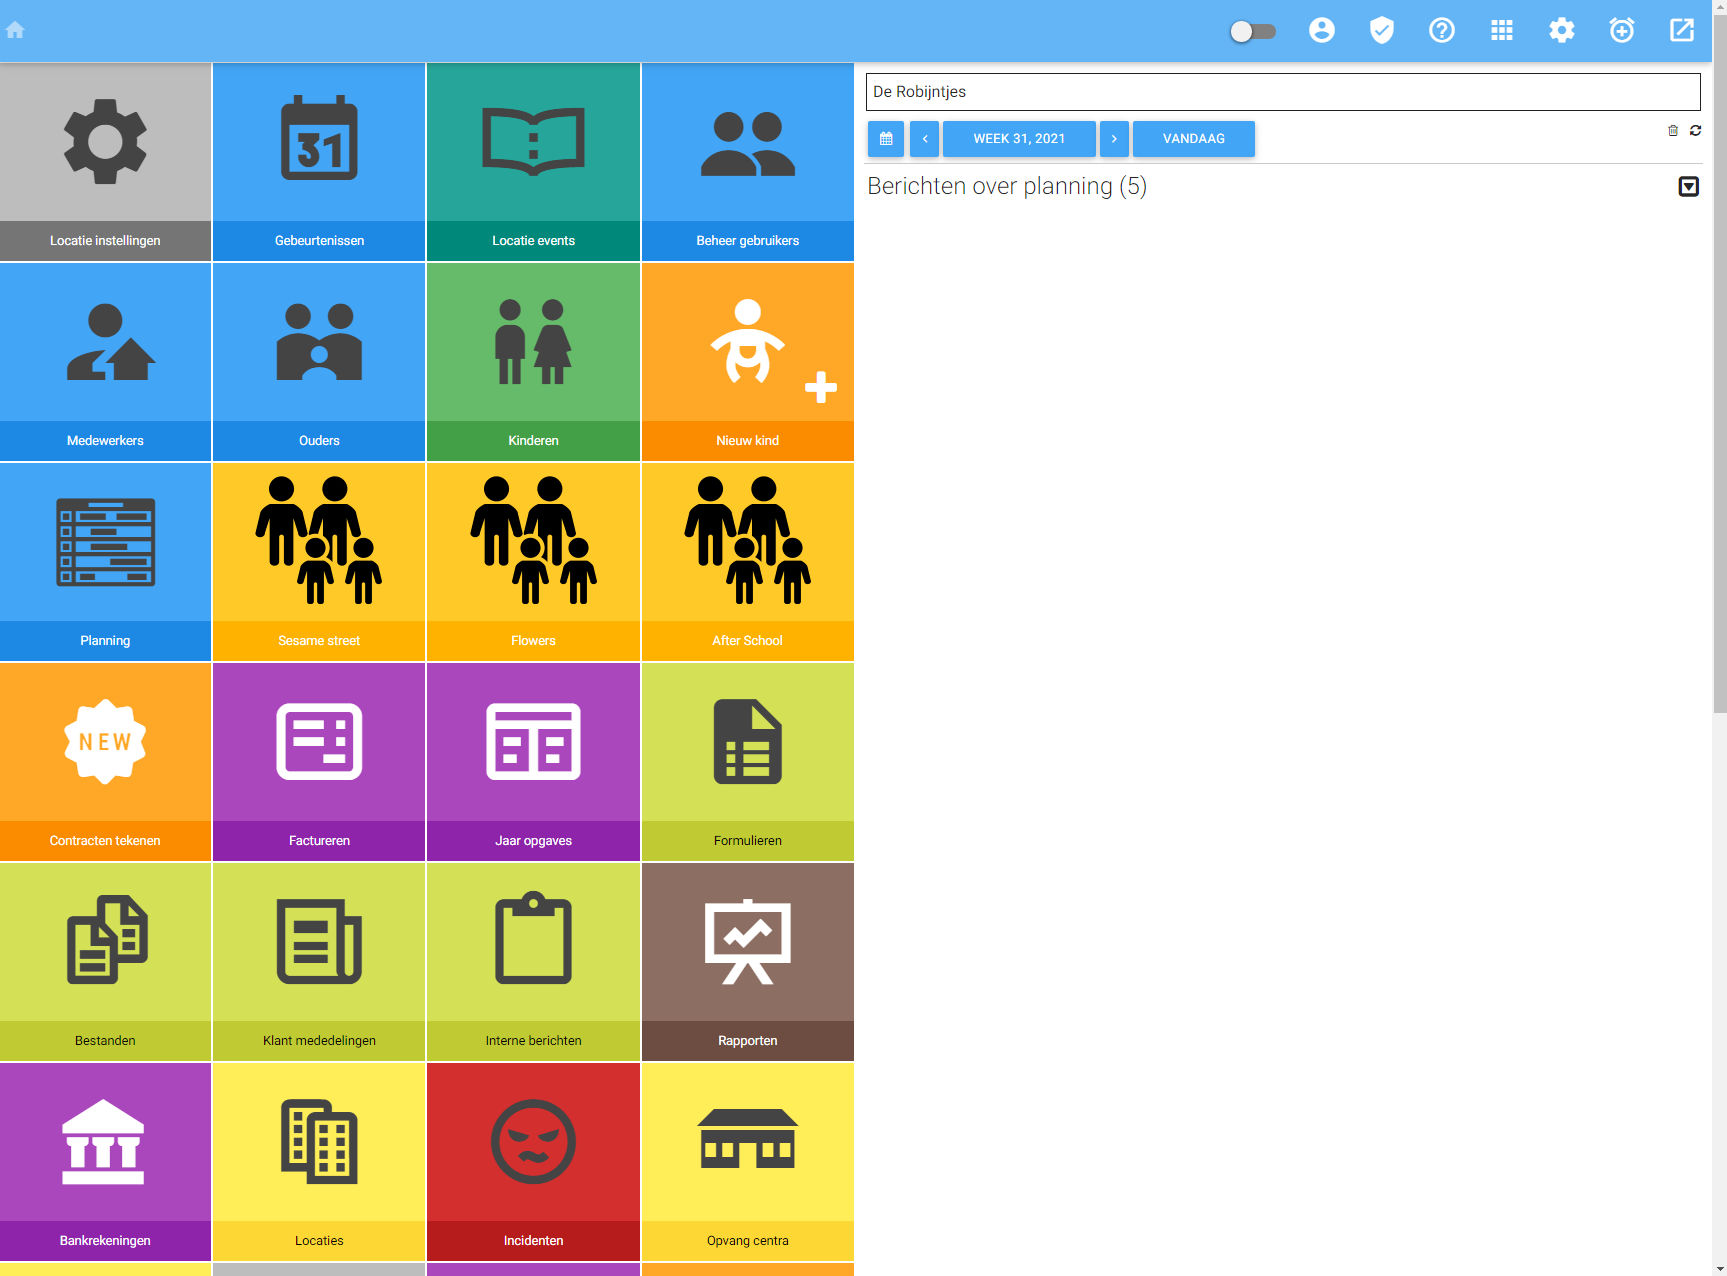
![]() You navigate to Settings by choosing for the gear.
You navigate to Settings by choosing for the gear.
After that open and check the following screens.
- General settings
- Application settings
- Manage roles
- Manage user actions
- Manage products
General settings
Enter your general company information.
Application settings
Here you configure the behaviour of the application like invoice period and certain times and fields. Country: Allows you to set from which country you are using this program. This setting affects more cases related to government and legislation.
Last day for applications through the Internet: Customers can apply additional days/plans through the parent portal if allowed. However, we would like to note that there is a deadline until this is possible regarding the planning of staff. You enter the last day you accept applications here. Closing time for applications: In addition to previous item the closing time for requests.
User for nightly processes: The user you select here is used to send notifications in case you can not send mails or reports for instance. We recommend to choose a user who logs in to the system regularly.
Invoice prefix: Each invoice receives a number generated by the system. This number may be preceded by a prefix that you can enter here.
Invoice numbers per year: If you select yes, every year will start with invoice number 1. Change planning by entering hours: If yes has been selected, the planning of the children will be adjusted to what the nanny/parent has specified in the authorisation.
Estimate hourly nanny/child care: Here you can enter an estimation when it comes to for example projections or reports.
Standard view planning: Allows you to control which view is shown to your users when they first go to the planning.
Weeks a year: Allows you to specify how many weeks a year you are open, you can use this for products or reports for instance.
Group show male/female employee details: If this option has been turned on, all name/address/resident data of all employees are visible.
Holidays compensation
Here you can enter compensation hours per year for your organisation, used to compensate obligated holidays.
School classes
Here you can enter which class the children attend. For instance, at some schools classes are at different locations. According to the classification a bus list can be made for each location.
Manage Roles
Review the default settings. There are several general roles that are created when the system is initialized. We recommend creating a test user to see what his/her view is when logging into the application.
Manage User actions
With User actions you can define the actions you want to plan. Where hours are written on and which activities to track.
The is one default role for people to be planned on working on the day care center.
Manage products
Read the specific manual page with care. The details on products can be found here. Products manual.
At this point the basics are met and you can start with entering children and parents with the wizard.
Locations
Kiekeboe world is a system that is suited for small and large day care organisations. If there is only one location some options will be disabled. When there are more you will have the need to use the options that are provided for managing multiple locations.
Checks
- Opening times
- Rooms
Adding users
Personnel and staff can be easily entered on the manage users page. If done with a location selected the user will automatically be linked to that location.
- Administration
- Parent
- Customer
- Employee
You can give a users multiple roles. He will have the right of the highest authorisation.
Choose actions, then New User
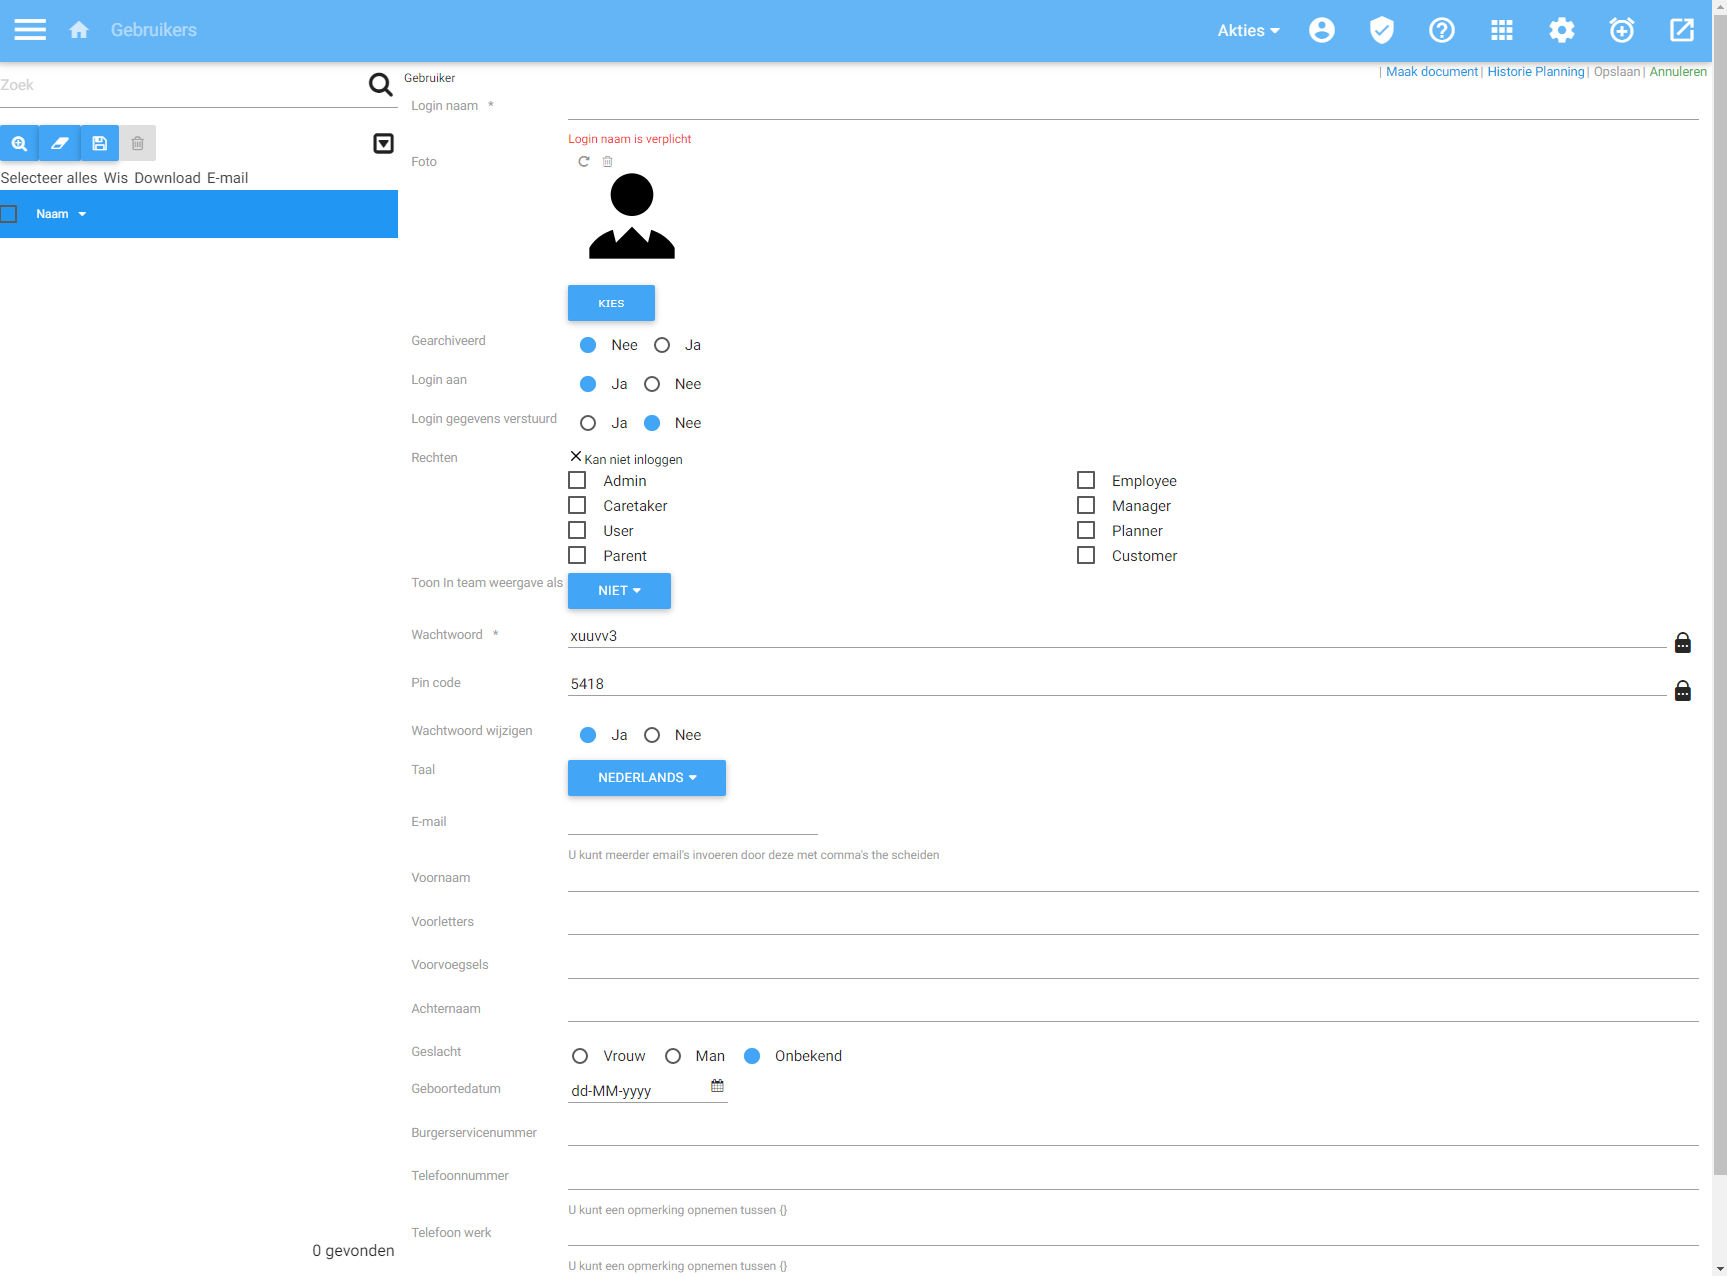
If you enter a new user. This user normally will have to change the password that is generated for him. If this is not wanted just uncheck the change password on next login box.
Adding children
You can enter children with the wizard which will guide you through the steps. Note that most things can be changed. So it's the easiest way even of there should be additional things that need to be configured.
Planning
After you have entered some or all children you can start with entering the planning. For an existing day care center the first step will be entering the existing planning. Details...
Invoices and planning
In theory one could plan children and never generate an invoice. The invoicing depends on planning for some thing but both can be done separate.
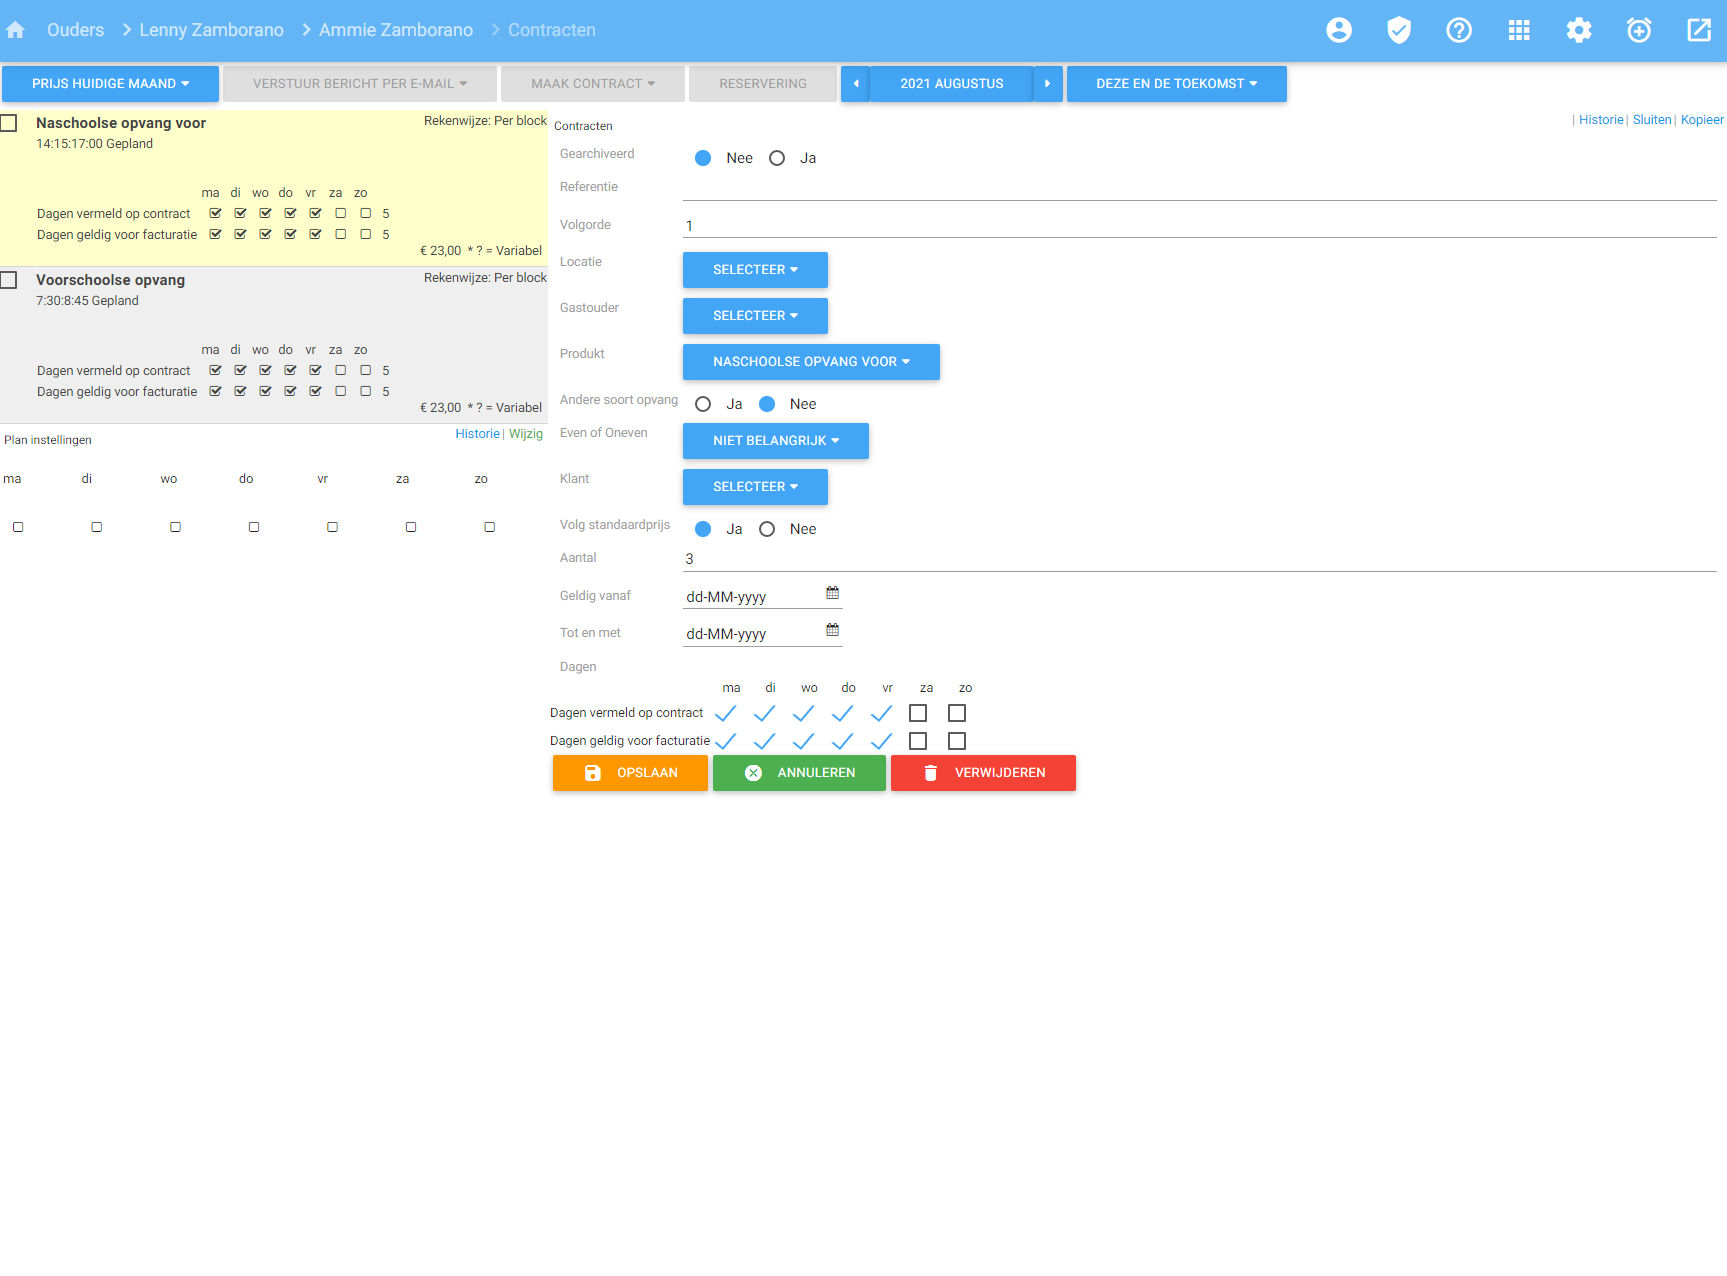
When entering a contract no end date needs to be provided . The contract will then continue to be valid until an end date is entered.
Now you can select "generate invoices" and see the results.
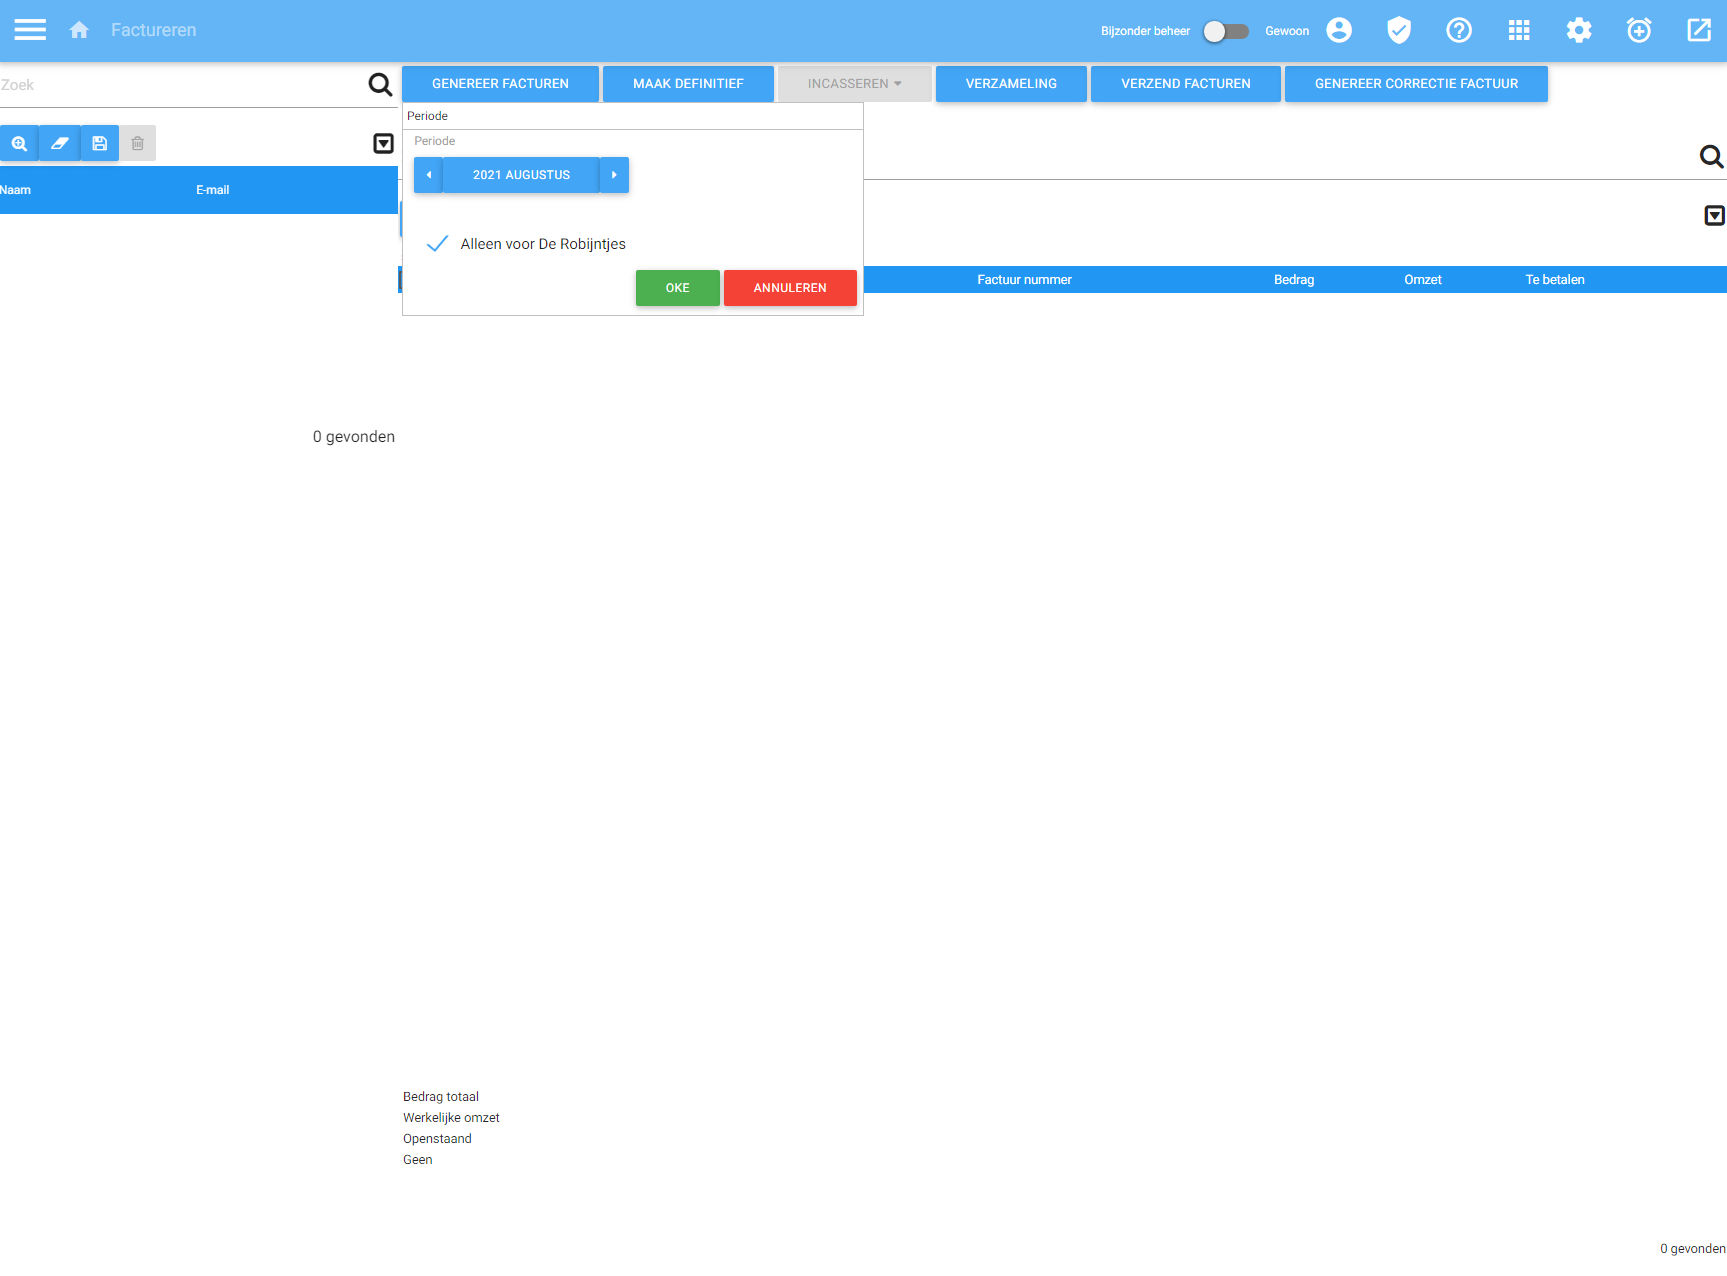
Choose invoicing, Then "generate invoices.".
Reports
In the end we advice to look at the provided reports. These are mostly for certain overviews. Day to day operation should be done with the mobile client or group module.